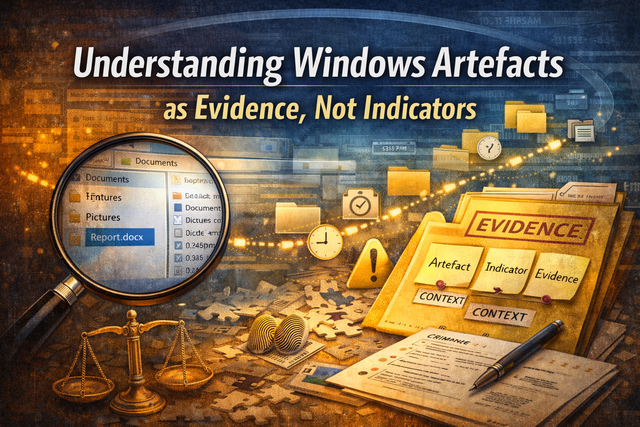
Windows endpoint investigations tend to fail in predictable ways. Not because analysts can't extract artefacts. Most junior and mid-career practitioners can acquire an image, parse common sources, and build a timeline. The failure is usually interpretive. An artefact is treated as a deterministic indicator, or as proof of an action, when it's only a partial trace of a system behaviour. This post is about that gap.
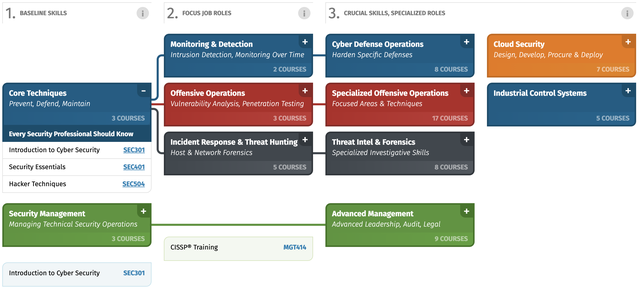
I'm in no way saying that certs or degrees are the only path to success. There are definitely individuals in the field who've never taken a cert or completed a degree and are super successful. However, I think those individuals are rare, they're the exception (i.e. exceptional). In my experience (and it's only my experience I can speak from), certs are the fastest way to get skilled up in an area where you have knowledge gaps. With that said, let's get started.
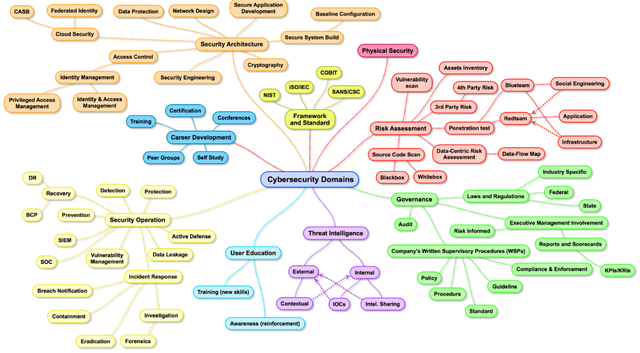
It can be difficult when there are so many different roles and job titles and little standardisation. The requirements for a role can differ vastly depending on the hiring manager and the HR team (not to call anyone out, it's a fast moving field and it's hard to keep up). There's no shortage of advice like this; I realise of course that a quick Google search brings up a multitude of similar blogs, but if people are still asking 'where do I start,' at least having written this I have somewhere to point them for a quick rundown of my thoughts.
Here's a quick write‑up on Alternate Data Streams (ADS). An ADS is a file attribute used in NTFS that can provide investigators with valuable evidence that might otherwise be overlooked.
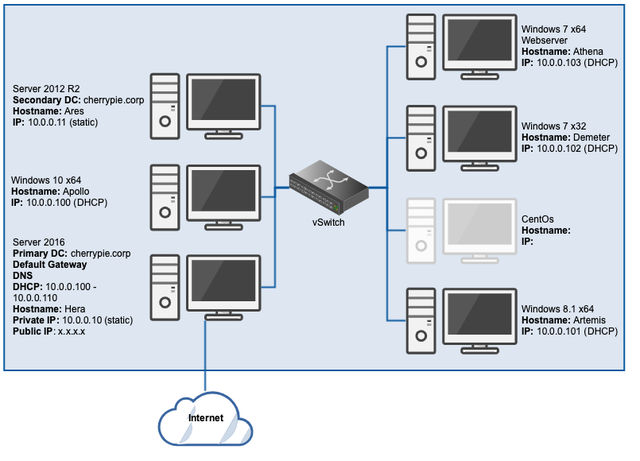
This (for now anyway) will be the last post in this series, in which we'll add a CentOS 7 x64 workstation to our lab.
As the title suggests, it's time to install the Windows 7 workstation(s).
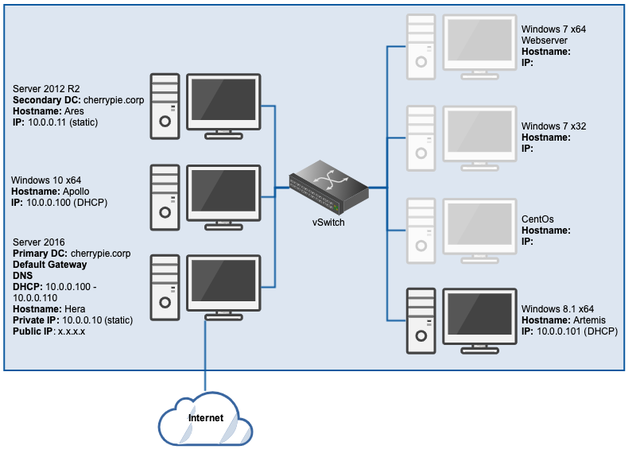
In this instalment, it's time to add the Windows 8.1 workstation to the environment. The issue with this ISO when compared to all the others is that Windows 8.1 doesn't allow the OS to be installed without a licence key. As a result, some finagling is required (read: an extra step to get the ISO ready before attempting to install the OS).
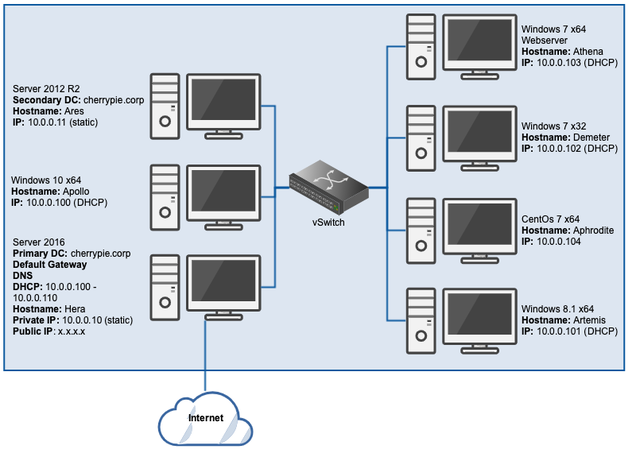
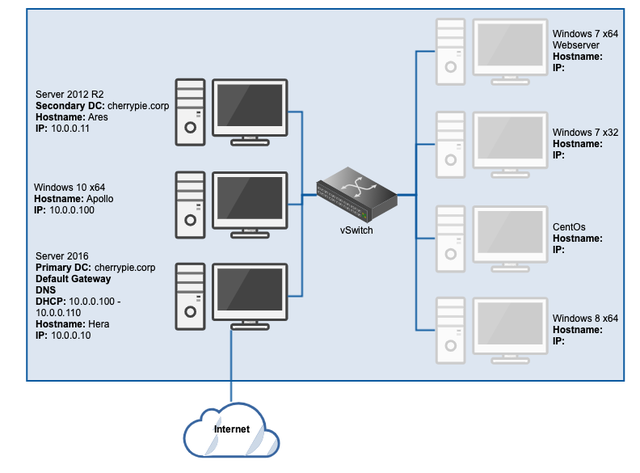
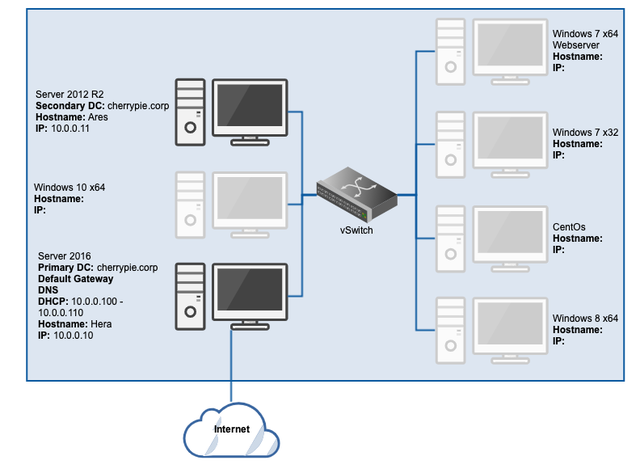
If you haven't already, complete parts one and two of this guide on building a personal forensics lab in the cloud, which cover creating the Windows Server 2016 primary domain controller (DC), DHCP and DNS server, and the Windows Server 2012 R2 secondary DC.
If you haven't already completed part one of this series, Creating the Primary Domain Controller, I suggest you visit that page first. If, on the other hand, you have at least the primary DC configured, including DHCP, DNS, and Remote Access (NAT), please continue.
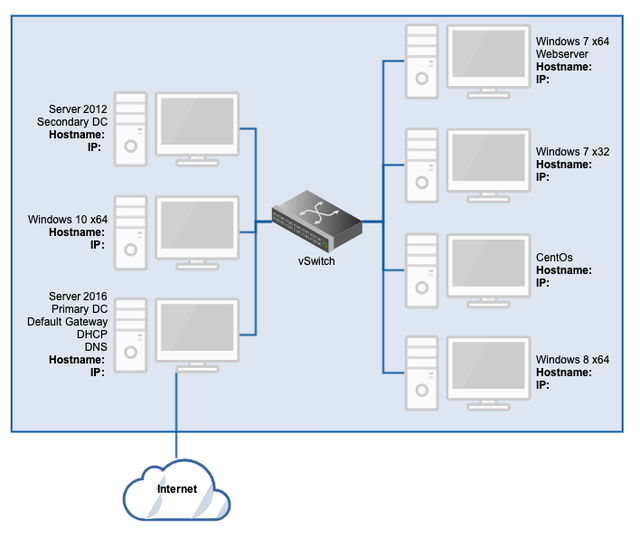
One of the major things I recommend to anyone working in DFIR – as well as network or systems administration – is to build a lab in which to test tools, techniques, theories, or anything else you might encounter in day‑to‑day work or personal research. This post is part one of a guide on building a very simple lab in a cloud environment. Readers earlier in their career will probably see more benefit from this series than those near the end, but the principles apply broadly to the industry.
Recently, a friend made me aware of an alternative to OpenVPN named [Wireguard](https://www.wireguard.com). It's designed to be extremely lightweight with a small source code footprint which makes it easily auditable. A whitepaper defining the protocol has been produced and is available [here](https://www.wireguard.com/papers/wireguard.pdf).
Everyone has their own take on the components which make up a basic DFIR go-bag for when that inevitable call from a client comes. I always have a small collection of devices and boot USBs with me which I think are useful in most cases, mostly because I’ve found myself in situations where any of these things would have been really helpful to have at hand. For larger incidents, I’d recommend having a larger case with a few more critical pieces of hardware, but we’ll get to that below.
At this point, you've already created your custom Windows ISO and are now ready to use it to deploy a Windows virtual machine on Vultr.
In the past, I've had difficulty creating Windows virtual machines with Vultr and other VPS providers that require a custom ISO that with the virtio drivers. This is a how-to on the process so I can follow it again in the future. Hopefully, others will find this useful as well.
This will be the first in a two-part series and will cover creating and uploading the custom ISO. The following post will cover using that ISO to create a VM.
